Despite being stuck in bed the past few months, I wanted to do something craft related for September, which is ovarian cancer awareness month! Somehow, these ideas hit me out of the blue, and it was Sierra who nudged me in the right direction. She was mentioning that she wanted to switch from the dog tag medical ID she is currently using to a bracelet. Specifically, she was checking out a site called Lauren’s Hope, which makes really cute interchangeable beaded bracelets. Instead of buying multiple bracelets for each mood or look, you buy one engraved medical ID plate, and buy interchangeable clip on beaded segments. Of course, I almost had a heart attack when I saw the prices. But, me being me, I looked a bit more closely. What if…I buy the engraved medical ID plates, and then make the beaded sections myself? And, a new project was born. I decided to make one for Sierra and one for myself.
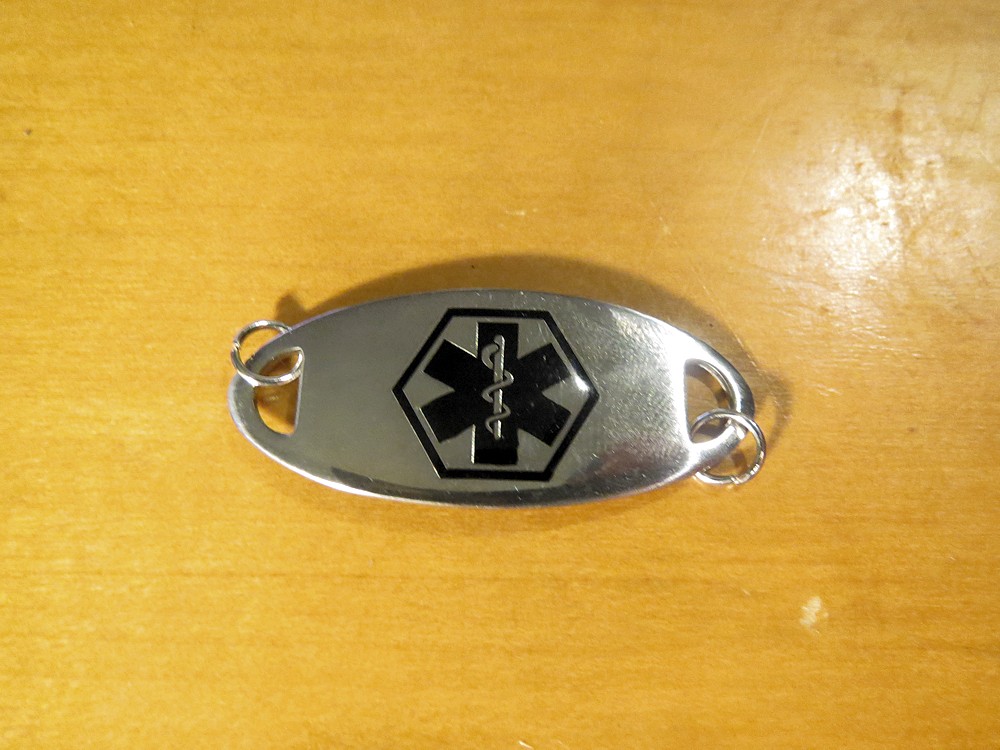
The above picture shows the engraved medical ID plate. This black one is Sierra’s, mine was white. The plate cost $5 un-engraved. The first line was $8, and $2 each additional line. Sierra’s ended up costing $19, and mine $21. (Minus a coupon code which knocked $4 off the end price!) The company wanted $5 to add the loops on the ends! I saved myself $10 total by using jump rings I already had and using my own jewelers tools to attach them.
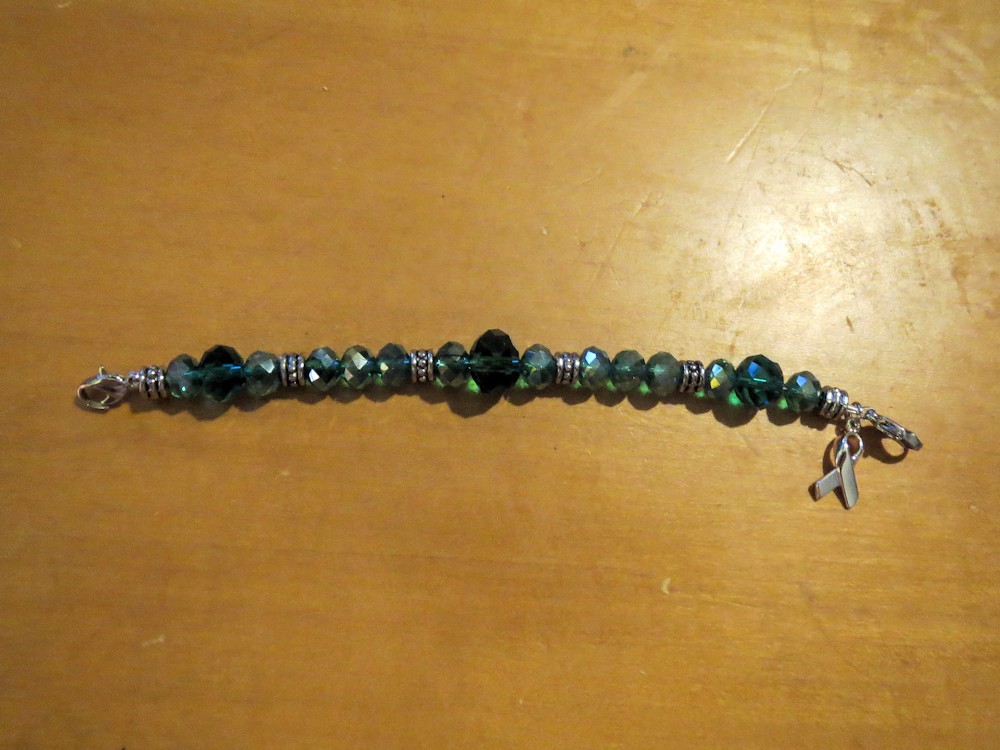
Sierra wanted her bracelet link done in teal, with a cancer awareness ribbon charm. The bracelet IS teal, even though the color does not show too well in the above picture with the dim lighting in my room. The bracelet segment is metal wired (with a plastic/rubber type coating). Beads are Czech glass I think, or crystal…I forget which…with a silver plated cancer ribbon charm, and lobster clasps on both ends to attach to the ID plate. I estimated to accommodate the plate, the beaded segment needed to be about 5″ long, not including the clasps. I used a beading tray to get the measurements as close as I could while maintaining a pattern.
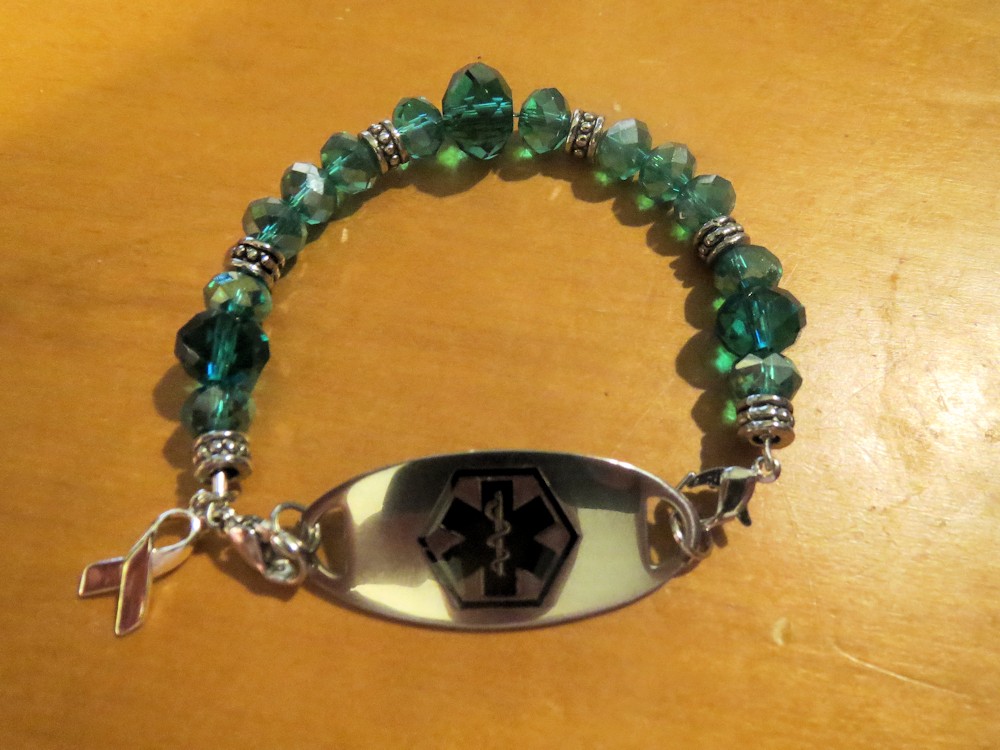 Here is her finished bracelet!
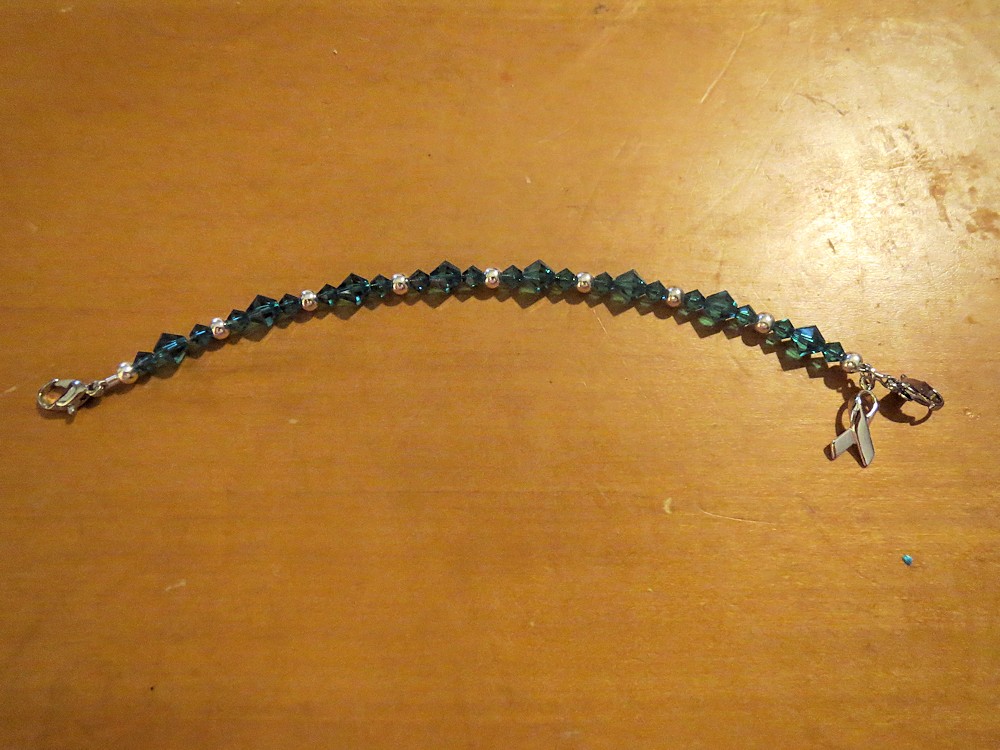
Mine was done in a similar fashion to Sierra’s except mine used teal (I know, picture is deceiving) Swarovski crystals. The same wiring, silver plated charm, and lobster clasps were used. The same measuring scheme was also used. The beads were much smaller, though, and thus more were needed. For anyone trying to go this route, it will be more costly because of the price of the Swarovski crystals. These were (16) 4mm and (8) 6mm bicone beads.
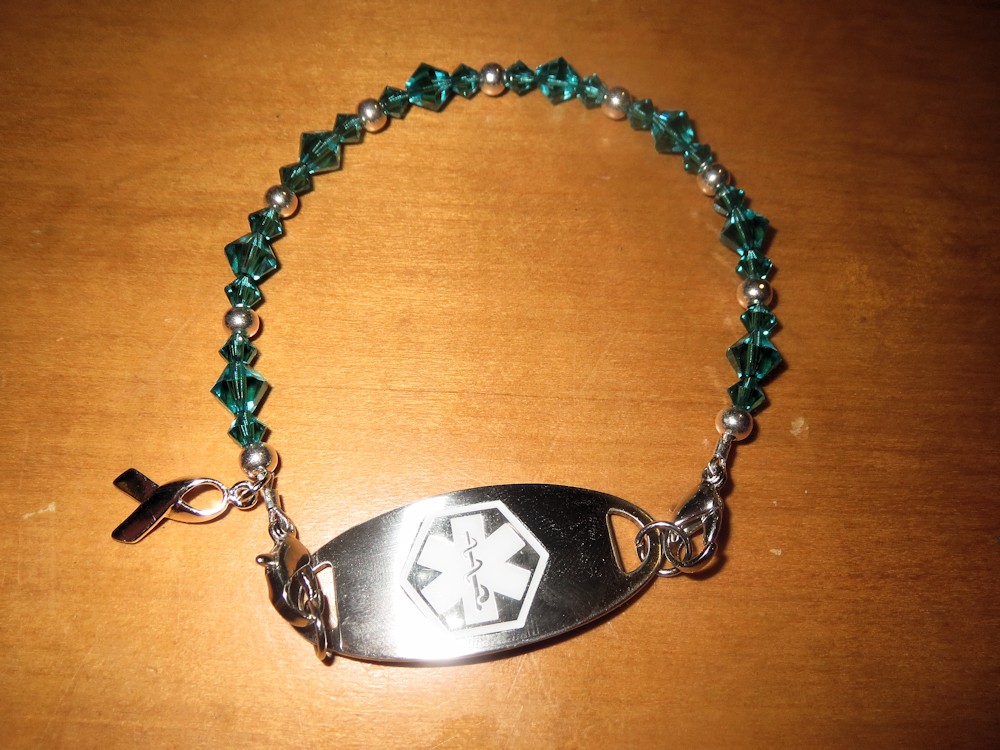
Here is my finished bracelet!
Happy Crafting!