
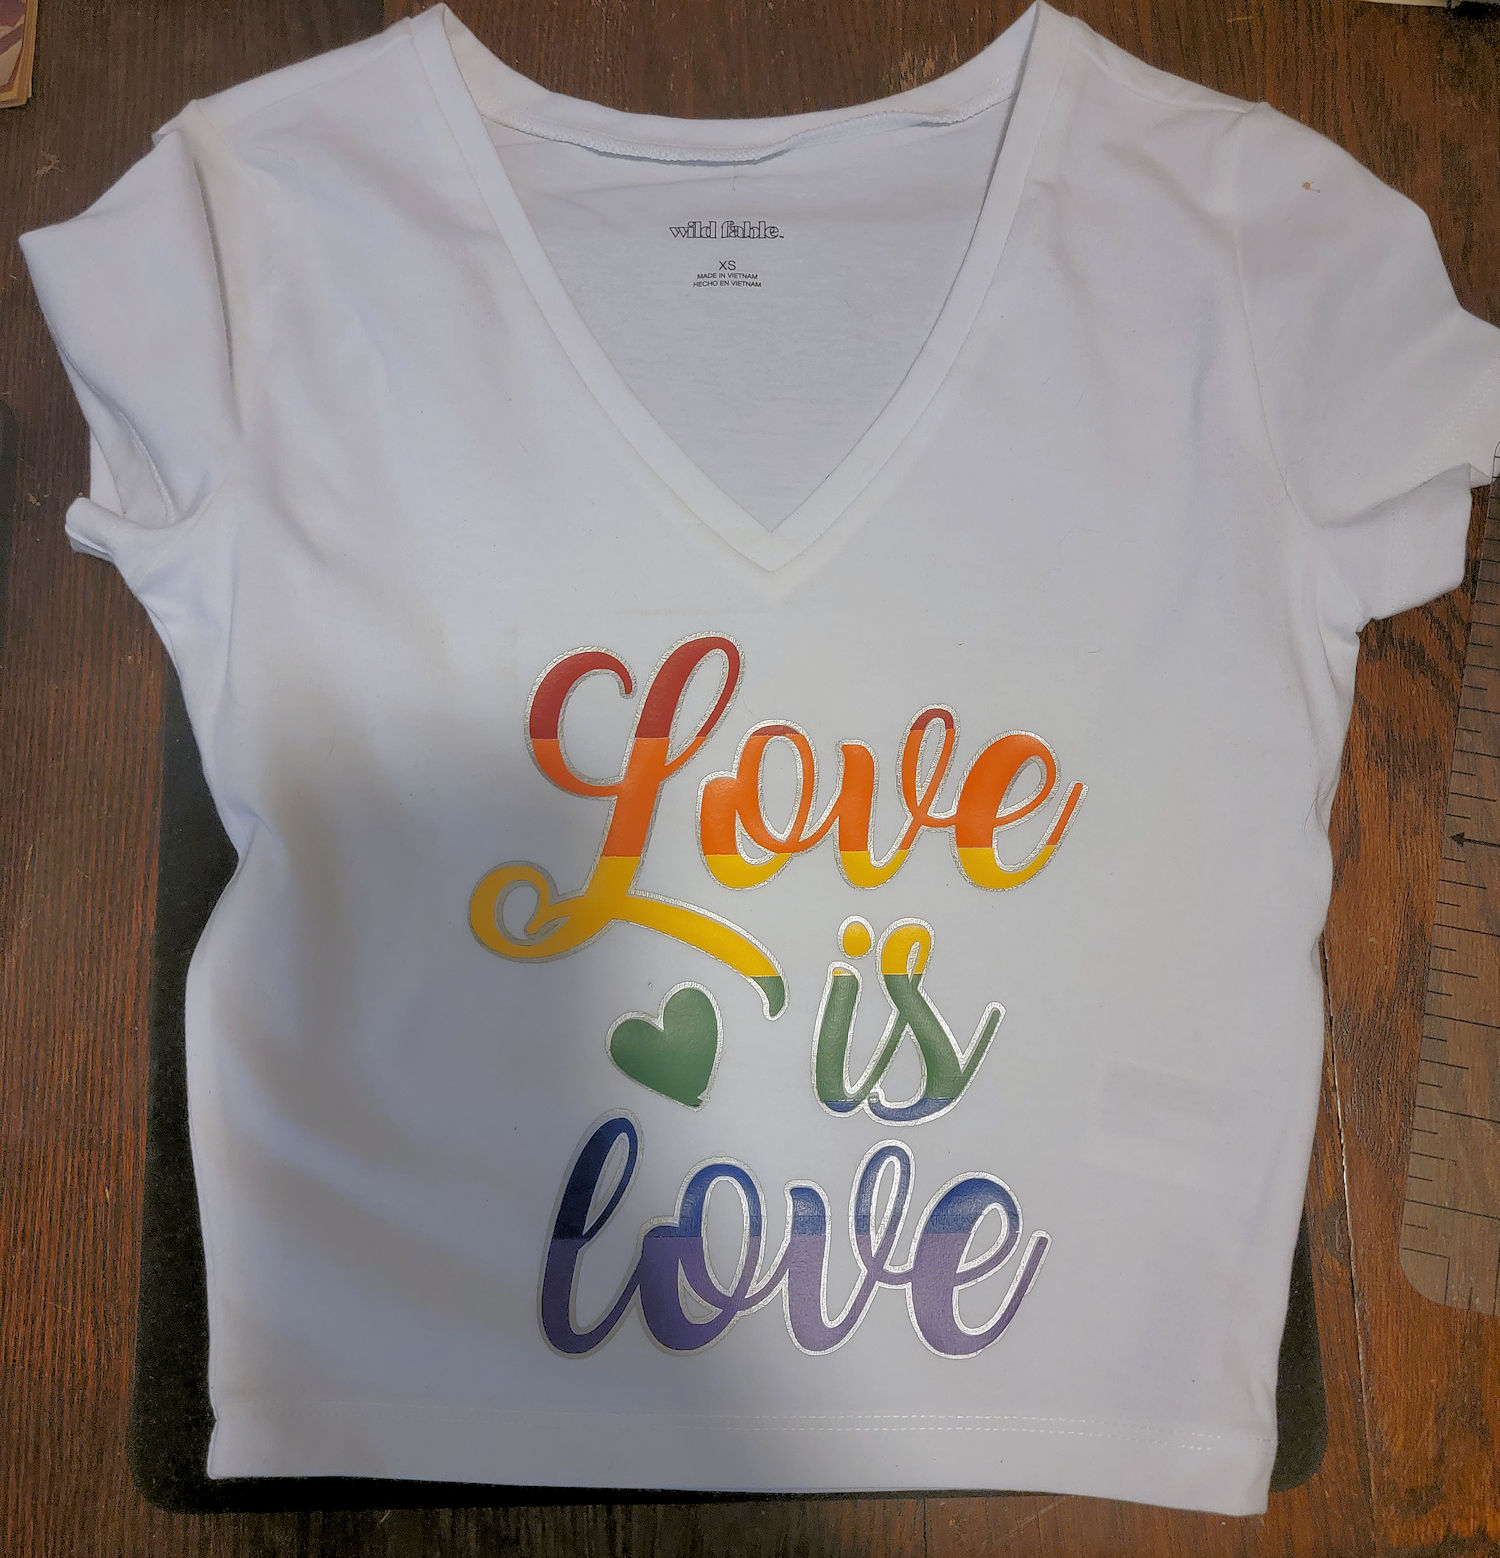
Last month Kenzie attended Pride Day in NYC with Buddy. I wanted to make a shirt, of course, and let Kenzie pick something. This was the design. It was ambitious, to say the least, but I was up for the challenge. It is not a simple iron on transfer, it is HTV vinyl with 7 colors pieced in! For this project, I needed the following:
- The design, which was part of a bundle on Design Bundles. The entire 27 designs are around $5. (Click here for digital product link.)
- A Silhouette Cameo 4 with the standard blade and standard mats. You can also use a Cricut Explore/Maker or any other cutter that can cut SVG files. (See previous posts if you are wondering why I did not use my Cricut.) You can get them lots of places if you don’t have one, but Swing Design has amazing bundles with tools, vinyl, HTV and classes included.
- A large portable heat press. I do not use the Cricut one as it is way too pricey. The ones on Amazon are cheaper and work just as well. The 12×10 Aonesy one works super well, and is currently under $100! (Click here for product link.)
- HTV vinyl. I used Siser Easyweed brand. So this design used 7 colors: red, orange, yellow, green, blue, purple, and silver as the border. I used to use the Cricut iron-on, but it just was not very good quality. There are plenty of places to buy Siser, but Expressions Vinyl is reasonable and ships quickly. (Some other places ARE cheap, but can take a super long time to ship because of the agreement you make when you purchase the item on the sale.)
- Heat press resistant pad. (Mine came with the machine. You can get additional ones on Amazon)
- Brayer for rolling HTV onto mats
- Weeding tools: I like to use a combo of a hook tool and a pin pen
- Computer with software for Silhouette installed (or Cricut if you chose that). I DO have the premium upgrade to Silhouette, and you will need to have the upgrade in order to import SVG files. I highly recommend this. However, do not pay the $49.99 upgrade fee!!! I did not. On Swing Design, the have a relationship with Silhouette, and sell instant upgrade codes at discount prices. Instead of the price above, it would be $29.99. They also sell upgrades to all the other levels of software! (Click here to see their page.)
- Teflon sheet
- Something to put in between the shirt, like parchment paper
(Please be advised I do NOT get a commission from any brand recommendations or links at this time. I am simply giving links to help people save money, find products easier, or complete this project.)
Before you do anything, download the design. (See the link above.) Make sure you have the Designer Edition (upgraded) of Silhouette Studio, or you cannot import SVG files. This is a one time and done upgrade, and not a monthly fee like Cricut Access. See above for instructions on getting the upgrade at a discount. Once you have, import the SVG into Silhouette Studio. You will have to make sure the design is ungrouped so you can cut all the colors separately. You also have to make sure it is mirrored because it is cutting for a t-shirt transfer.
Once you are finished cutting all the layers of color, you need to weed them. As stated above, I use a combo of a hook and a pin pen. The hook is great for bigger pieces and the pin pen for smaller intricate things. (i.e. the hole inside of an “e”) Make sure you are weeding out the larger areas, and leaving the letters/design on the plastic backing.
When done weeding, you will need to preheat your press. It should be preheated to 305 degrees for Siser Easyweed. (If you are using something else, check for recommendations.) Put something between the shirt. Pre-press the shirt first before applying any design. I started with the border first to put the foundation. Each layer presses for 10-15 seconds. So I basically did silver border (with teflon sheet over top to protect it), then piecing in each color in order one at a time after: red, orange, yellow, green, blue, purple. Do not press all the colors at the same time! Once you press, you peel away the carrier/clear sheet. If the design resists, and doesn’t want to come away from the sheet, place it back down, and press a little longer. Be careful around seams. I had an issue as this was a crop top Kenzie wanted. So the press kinda hit the bottom seam, and as a result, the bottom of the border wouldn’t stick down. I had to do creative moving of the press.
Now, as I said, this was absolutely an ambitious design for HTV with 7 colors. If you are new to HTV you will want to start simple with 1 color designs first, and work your way from there. This was not my first rodeo. I have done HTV before, but this was still a record for me with colors. designbundles.net has a ton of freebie SVG files to pick from, so it is a good place to start to try a simpler one.
I know it has been a while since I posted something crafty. I hope to post more crafty things soon!
Happy Crafting!